DMX system in perl
William and me are starting to prepare for the next Exploit party, and this year we have decided to control all the lightning and video equiptment by perl.
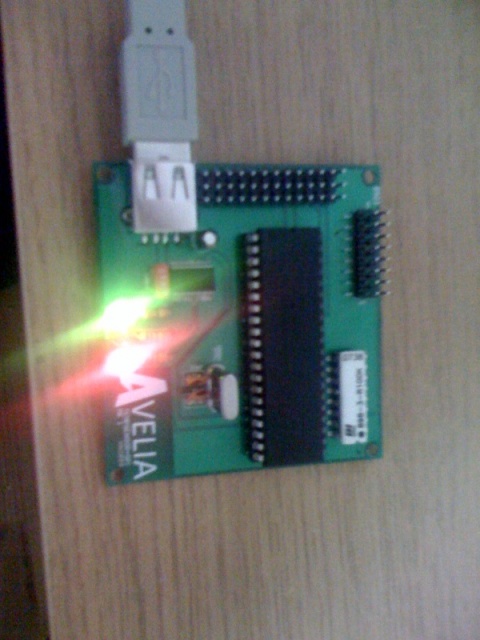
We started for two days ago. William has a ENTTEC USB Pro which is fine for interfacing. In Linux, it is recognized as a standard COM port, and the API consists of sending characters to the virtual COM port.
So as an example of how easy it is to send DMX with this device from perl, I’ll give an example below:
1 2 3 4 5 6 7 8 9 10 11 12 13 14 | #!/usr/bin/perl use Device::SerialPort; use Time::HiRes qw/usleep/; use strict; my $PORT = '/dev/ttyUSB0'; my $ob = Device::SerialPort->new($PORT) or die "Can't Open $PORT: $!"; my $packet = chr(0) . (chr(128) x 30); my $length = length $packet; my $write = $ob->write("\x7E\x06" . chr($length & 0xFF) . chr(($length >> 8) & 0xFF) . $packet . "\xE7"); print "Wrote $write bytes to DMX controller\n"; |
This little script will send 30 channels of value 128 to the DMX controller, which will keep repeating this information, until it gets new information.
To clarify, the first byte 0x7E is the start byte for the enttec api. The next byte 0x06 is the function we are using, which is DMX OUT. Then there is two bytes of length information, describing how many channels we are going to send. And then the package is sent. It’s important to remember to send a 0x00 byte as the first channel, since this is the start byte of the actual DMX data. (also called the SC in the DMX standard specification)
We needed a central area to save our current channel data, and william found a nice perl module called Cache::FastMmap which uses mmap to save data. This way we can have several scripts using the same memory buffer, where we will putt the current DMX channel data. The first byte in the shared memory holds the current ‘version number’ of the data. Each time any data is changed, the first byte’s value is increased. This way each “reader” can check if there are new data asyncronically.
So after some initial successful testing, I created a module called Exploit::Scene. This is the module that all scripts that need direct DMX control will use. The external methods are pretty simple. You have get(), set(), to get and set a single channel value, isNew() and resetNew() to check if the DMX channel data has changed since last time you checked. commit() to save new channel data you have edited, and getDMXpacket() to get full 513 bytes of channel data. (or less, if you have set a smaller universe_size)
Now we could start to create some small test scripts. So William made a script that tests a single RGB LED fixture. And I created a console application to show/edit the DMX data. Of course these scripts are just for testing, and will not be used in the finished ‘product’, since everything will be centralized in a web interface to combine effects, etc.
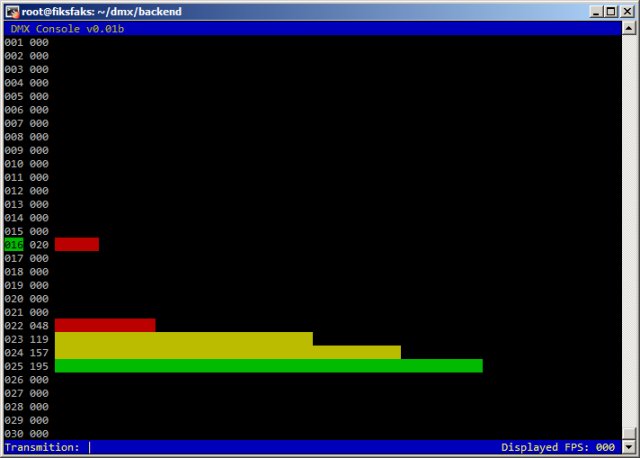
Here you can se the console application i wrote with the Curses perl module. The green cursor on the left is moved with your up and down keys, to select a channel. If you use the left or right keys, you increase or decrease the channel value. If you press space, you toggle the channel to full 0xff or null 0x00 values. Page Up and Page Down will show you next ‘page’ of channels, up to 512. The color on the bars is reflecting the channel value, first 1/3 is red, next is yellow, and last is green. The console is live, so if any other processes is changing DMX data, it will immediately show the new data while you are editing. So it’s both a monitor and editor. Which will be nice to have when the full system is done. So we can monitor the dmx channels live without the actual fixtures.
We have created two backend scripts. backend-dmx and backend-udp. These connect to the mmap with the Exploit::Scene module as explained, and use the getDMXpacket() function to get the data to send to either the DMX controller, or udp. By UDP I mean that we are sending all the DMX data to a local multicast address. 239.255.0.$universe. This way, any computer on the network can connect to this stream, and get out the data it needs. So we can have several computers on the network triggering on DMX data. For this we have the Exploit::UDPScene module, which behaves similar to the MMAP version, but used multicast to get it’s data.
More info will come when we are further along with the project.
